
Why Heritage Window Retrofit Must Start With the Building, Not the Glass
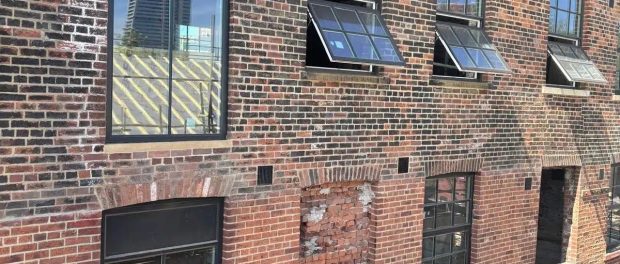
A cold heritage window doesn’t always have a glass problem.
I’ve opened up windows where glazing was blamed straight away, only to find the real trouble elsewhere: failed pointing at the jamb, a loose meeting rail, damp timber around the sill or an old repair holding moisture where it shouldn’t.
Change the pane first and you might improve the U-value while leaving the reason the room feels cold completely untouched.
For me, a heritage window retrofit starts with the opening, not the glass.
Step 1: Read the whole opening
Before specifying anything, I want to know what I’m actually dealing with.
That means looking at the masonry, sill, frame, sash and internal reveals, but also at the places where those materials meet. Water staining, movement, open joints and earlier repairs can tell you more than the glass itself.
Take a cement repair around an old timber frame. From outside, it may look perfectly serviceable. Behind it, moisture can be sitting against the joinery. Equally, decay along a bottom rail doesn’t necessarily mean the sash has reached the end of its life. Often, sound timber can be retained and the failed section repaired.
That assessment should come before any glazing decision.
Step 2: Work out whether the problem is glass or air
This is where projects can go wrong.
A rattling sash, worn meeting rails or gaps around the beads create air movement. Better glass won’t stop it. I’ve worked on windows where easing the sashes, renewing cords and improving the perimeter seal changed the comfort of the room far more than a glazing upgrade would have done on its own.
U-values are useful of course, but they can draw attention towards what’s easiest to measure. The person sitting beside the window may be reacting to a draught instead of conductive heat loss through the pane. This isn’t the same issue.
Step 3: Tighten the window carefully
Eliminating draughts changes the room’s behaviour.
Once uncontrolled airflow is cut back, moisture has fewer accidental routes out. If ventilation is already poor, condensation can just appear somewhere else, maybe this is on a cold reveal or behind furniture against an external wall.
So I never treat airtightness as a goal in isolation.
The better question is whether the window can be made more comfortable without creating a different problem elsewhere in the building.
Step 4: Start with the least disruptive intervention
Once the defects are clear, the order of work becomes easier to judge.
I’d usually look at local joinery repair and adjustment first, followed by draught-proofing. Depending on the building, shutters or secondary glazing may then make sense.
Slim double glazing, vacuum glazing and replacement joinery are all useful options in the right circumstances. They’re just not where I’d start.
That distinction is important. Heritage retrofit should be a process of escalation, not assumption.
Step 5: Let the diagnosis choose the glass
Sometimes replacing or upgrading the glass is entirely justified.
But the strongest heritage window retrofit isn’t necessarily the one with the lowest theoretical U-value. It’s the one that deals with the actual source of discomfort or water ingress while keeping sound historic fabric in place.
For architects and specifiers, I’d put it simply: understand the opening first. Then decide what the glass needs to do.